We are busy, but so many improvements to your social media profiles can be made in just a few minutes. Below, we take a look at 12 quick ways to improve your profiles that, altogether, shouldn’t take you more than an hour.
Time to close that game of Solitaire and get to work.
General tweaks
Optimize your profile and cover photo sizes
We’re pretty spoiled by the quality of online images today. Gone are the days of visible pixels. Today anyone with a smartphone can take a pristine image of just about anything, including their own mug. Which is why there’s no excuse for you to have a stretched out, distorted, or pixelated face as the profile photo on any of your social media accounts. Not only are these images hard to see and confusing, they reflect poorly on you or your business. (“You couldn’t even be bothered to take one nice photo? Either you’re lazy or you suck.”).
Take a few minutes and optimize your profile photo and your cover photo. This means ensuring that photos fall within the dimensions recommended for a certain network. Often all it takes is a quick crop.
Many people think that a square is a square, or the social networks will make sure the image fits right. In reality, you never know when profile images will be reused elsewhere on a social network. How will it look when expanded? How does it look when it’s really small in people’s streams? How does it look on mobile compared to desktop? The social networks provide us with optimal image sizes knowing that these photos will be used in a variety of instances. You should probably trust them.
Standard image sizes for major social networks are as follows:
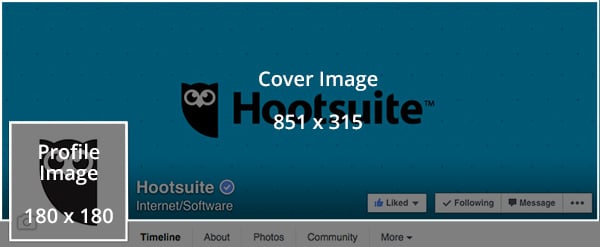
- Facebook profile picture: 180×180 pixels
- Facebook cover photo: 851×315 pixels
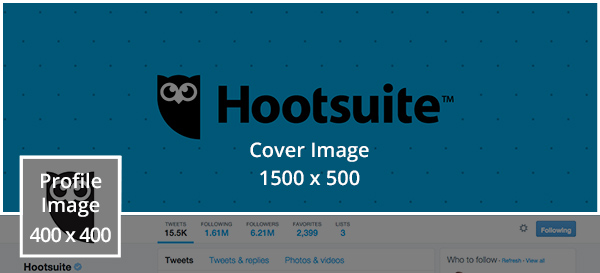
- Twitter profile photo: 400×400 pixels
- Twitter header image: 1,500×500 pixels
- Google+ profile picture: 250×250 pixels minimum
- Google+ cover photo: 1080×608 pixels
- LinkedIn profile photo: 400×400 pixels minimum
- LinkedIn custom background: between 1000×425 and 4000×4000
- LinkedIn logo: 400×400 pixels
- LinkedIn banner image: 646×220
Once you’ve optimized for size, you can even go so far as to optimize the picture itself, using a survey to judge how competent, likable and influential you’re perceived to be. This post by Andy Raskin will walk you through the process, although you’ll probably have to invest a little more than 30 minutes into this one.
Make your profile photos consistent across social networks

Do you really like some photos of yourself and hate others? We all do. Let’s face it: we’re not always ready for our close-up. So how many of your profile photos are current images you actually like? Right. That’s exactly why you should be using the same profile photo across all of your social networks.
You might feel like, ‘yeah, that’s me,’ but your followers on Twitter have a far less intimate relationship with your face, and might not recognize you at a glance in a different photo, say on Facebook or LinkedIn. Recognition is key, especially as people quickly scroll through their feeds. For this reason, having consistent profile photos will increase your chances of having people follow you on different social networks.
If you’re controlling social accounts for a business, you also want to maintain consistent profile photos to reinforce your brand. The more people see your logo as they scan their various social networks, the more likely you are to be top of mind when they actually need your product or service.
Untag yourself from bad photos
While we’re on the topic of photos, none of us are going to share terrible photos of ourselves. There’s just no reason to make yourself look bad. However, today’s social networks empower other users to share these terrible photos on your behalf, through tagging. Being vigilant about tagged photos can help you quickly clean up your profiles and project a more professional image on social media.
First, you should always be aware of your photo tagging settings. Make sure your settings reflect your own policies or interests, in terms of who can tag you in photos and whether or not you want to approve them in advance.
- Facebook allows you to review and approve tags on your photos, and untag yourself from other photos
- Instagram allows you to approve photos you’re tagged in before they appear on your profile
- Twitter allows you to restrict who can tag you in photos, and remove any tags
Second, you want to regularly check your tagged images. Let’s face it: there are going to be some bad ones, so quickly untag yourself. People might ask why you wouldn’t just shut off tagging altogether. Well, there are benefits to allowing people to tag you in photos, especially for businesses. On Instagram, for example, you want customers to tag your business in photos of your product or service, so that they appear in the “photos of you section.” These tagged images are valuable for engagement purposes, and provide additional photos of your product for anyone scanning your profile. Don’t close off this source of content; just be aware of it and spend a few minutes cleaning things up.
Make your names consistent across social networks
As with your profile photos, consistency is key when it comes to your names and handles on social media. With photos, the consistency is really about recognition. While that is one reason to have consistent social handles, in this case the real driver is searchability.
When you want to mention a brand on Twitter, for example, you probably just throw an @ symbol in front of their name and start tweeting. It’s kind of frustrating when you realize that their handle isn’t just their company name, but some mishmash of words with city names or area codes or SEO terms or anything else.
A simple handle that just reflects your name or your company’s name will increase the chances of you being mentioned. It also makes it easier for people actively seeking you out to find and follow you.
Add keywords to your profile for SEO
What do you want to be known for? Is it family law? Curtain sales? Comedy? Whatever your niche is, it’s essential that you make yourself searchable. When people Google or Facebook search curtain sales, you want your face to pop up. Believe it or not, simply adding relevant keywords to your social profiles can go a long way to helping you get there.
Identify the terms people search for the most when they’re looking for a professional in your niche or industry. Tools like SEMrush can help you with that task. Once you’ve identified your terms, take a few minutes and insert these keywords into your social media profiles. These terms should appear in your LinkedIn job title, job description, and skills. It should appear in your Facebook and Twitter bios, in photo names, interests, experience, and just about any other category that isn’t your name, since that would be a little obnoxious.
Don’t just drop these terms in haphazardly. Work them into your bios in a way that’s logical, professional and actually describes how you relate to these terms.
Then watch your profile visits grow.
Fill in every bio field
While you’re busy adding keywords to all of these fields, you should probably take the time to make sure that all of the fields are actually filled out.
Leaving fields blank is a surefire way to a) come off as unprofessional, b) come off as lazy, or c) make people think you don’t really care about social media. It has been so long since most of us set up our social media profiles that many of us have no memory of leaving sections blank or skipping over things. I, for one, am guilty of skipping profile building entirely to simply start using the network as soon as possible. Things have changed on the social networks, and things have changed in my career, so it’s worth going back and ensuring everything is filled in and up to date.
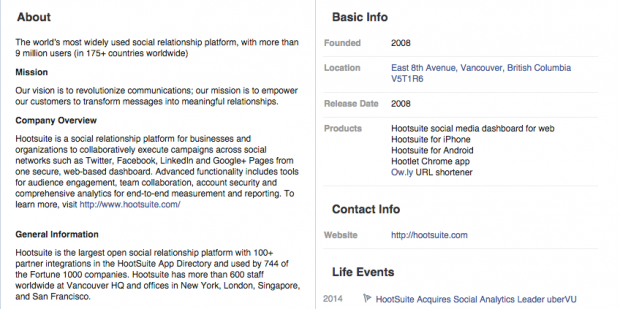
Open that little “edit profile” tab on every social network and see what fields you’ve missed. You might be surprised to see, for example, that Facebook has no less than seven sections in the “About Me” tab. That has probably grown significantly since you first signed up. Do the same on LinkedIn, Twitter, Instagram, Pinterest and every other social network. Fill in the holes and strengthen your profile. Your current and future followers will appreciate it.
Link to your other social media profiles
One of the fields in a few of your social profiles will probably be “website.” Many of us take this field too literally, and just drop in our website before moving on. Don’t stop there. Use this field to link to your other social profiles as another means for cross-promotion.
Facebook allows you to add multiple websites to their websites field. There are also apps which allow you to display Instagram and YouTube accounts in Facebook tabs. LinkedIn allows you to add your Twitter account to your profile. Pinterest allows you to connect both Facebook and Twitter, in addition to having a website field within your profile. Google+ lets you add as many social profile links as you want.
The opportunities for cross promotion are there. There might not be an easier way to quickly improve your accounts.
Ask a few friendly clients for reviews or endorsements
Social proof is an extremely powerful social media tool. People trust their friends and family far more than any advertisements. Having positive reviews on your social media profiles can go a long way in earning people’s trust and increasing your chances of turning strangers into followers, and followers into business.
While 30 minutes might not be enough time to actually get reviews up on your profiles, it is definitely enough time for you to write messages to a few of your brand advocates or friendly clients, asking them to leave you positive comments.
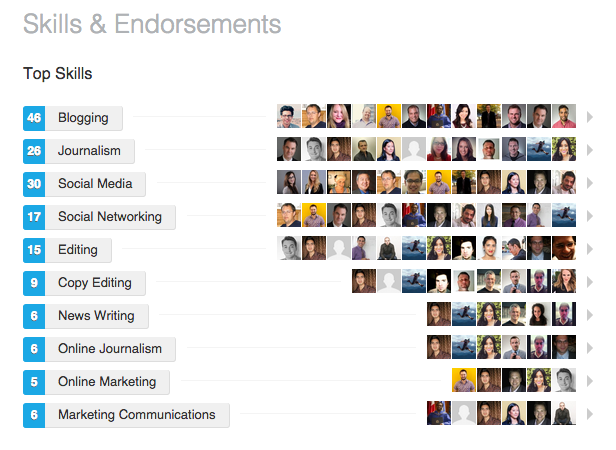
LinkedIn makes this easy, with their endorsements section. People can endorse the skills you’ve added to your profile, or actually leave unique endorsements. The latter are very powerful, if they’re willing to put in a little extra time to write you one.
Facebook pages have a visitor posts section where people can highlight the good work you’ve been doing. On Twitter, you can take a positive Tweet about your business and pin it to the top of your stream, so that anyone visiting your profile will see it. Plus, you can always ask for endorsements and actually turn those into content you can share on your profiles (think an Instagram or Pinterest photo of a quote from a client).
Whichever way you slice it, it only takes a few minutes to ask someone for their feedback. This quick act can pay off huge in social proof.
Network-specific tweaks
Pin a Tweet promoting your last blog post
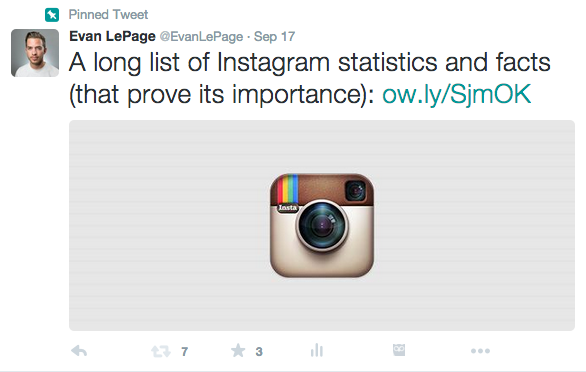
Have you pinned a Tweet on your Twitter profile? Think of a pinned Tweet as an addition to your profile. Unlike other messages, this particular message won’t be going anywhere until you decide it will. It won’t get buried in the flood, and disappear into the Twitter archives. This Tweet occupies prime real estate, one of the first things people see when they look you up.
And to think, most people don’t even have a pinned Tweet.
We mentioned pinning an endorsement to your Twitter profile above, but you can use pinned Tweets in several different ways. Choose a Tweet that promotes a strong piece of content you or your brand has created, and includes a piece of rich media like an image or a video. This could also be your latest piece of content, if you’re looking for a quick traffic boost. Or maybe you’re running a new marketing campaign. Pin a Tweet pointing people to your microsite, your sale page, or your gated webinar/white paper/demo. Having a sale? Pin your discount code at the top of your business’ profile. Looking for feedback? Make your pinned Tweet a question and prompt people to reply.
There are no real limitations on what you can pin. But pin something. Otherwise you’re just wasting one of your Twitter profile’s biggest assets.
Add media to your LinkedIn jobs
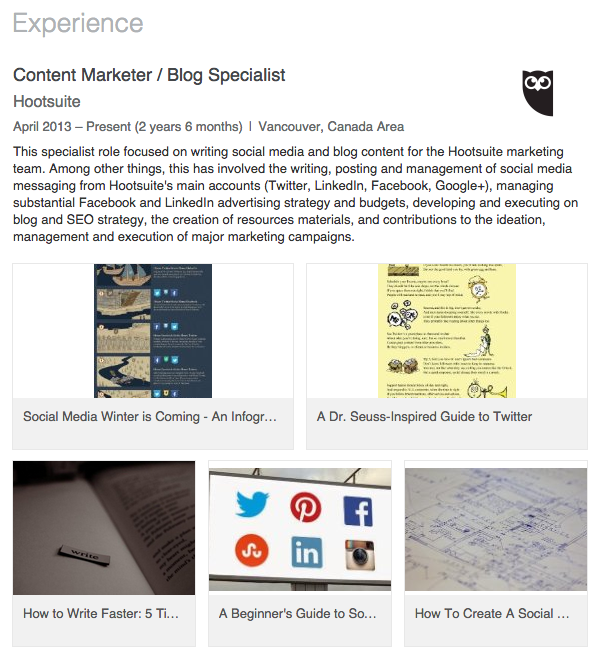
LinkedIn isn’t the most visually appealing of social networks. People tend to focus less on videos and gifs, and more on the concrete stuff that’s going to get them hired. That’s fair, since you probably wouldn’t share that cat gif on your physical resume either. However, there’s a reason digital resumes have grown in popularity: they allow you to showcase more of your work, and to do so in compelling ways.
A prime example of this is the media option in the experience section of your LinkedIn profile—one of the most widely underused features on the social network. The media option allows you to showcase your work. In other words, rather than telling people that you worked on a huge project or wrote a blog post, you can show them through an image and a link to the work. Including media within your profile will help people get a more extensive picture of your experience, all while adding a little bit of visual appeal to your profile.
Fun fact: you can also add media to the “Summary” and “Education” sections as well. Take a few minutes and spice up that online resume. Then watch the job offers roll in.
Rotate the link in your Instagram bio

Instagram might just be the social network with the least detailed profile. Fill in your name, bio, and website, and you’re done. It should come as no surprise, then, that many businesses don’t see Instagram as anything more than an awareness tool. They don’t see how they can use it to drive leads, drive business, drive web traffic and other vital business functions. This common complaint is being addressed by many savvy users in a very simple way: rotating their website link.
Although Instagram only supports one link—the one your choose for your profile—there’s really no limit as to how often you can update that link. Smart businesses have rapidly figured out that they can change that link every time they have a new promotion or campaign. Post a new photo to support any online initiative you want, then in the description, say “see our profile for a link to this campaign!” Then change the link. It will take you about 30 seconds to update, and can help turn your Instagram profile into a real business asset.
Like relevant pages from your Facebook page
We all know that Facebook encourages us to share our interests with our followers. Not many people consider this decision strategically, though. When you make your interests or the Pages you like a public part of your profile, you’re giving people another means by which to judge or analyze you. If those likes are “One Direction” and “Glee,” you may not be giving off the impression you’re going for.
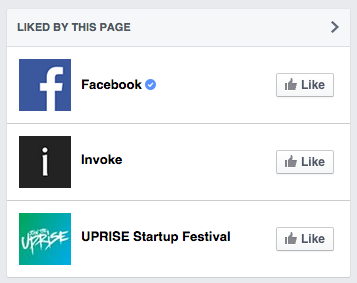
Have a look at your Likes and interests and delete or unlike anything you don’t want people to associate with your brand, or your company’s brand. Then, consider the things you do want to be associated with. These could be:
- Industries or fields, like “marketing” or “finance”
- Partner brands or industry leaders, like “Mailchimp” or “Unbounce”
- Thought leaders, like “Guy Kawasaki” or “Richard Branson”
- Positive interests or associations, like local charities or unions
- Casual interests you’re proud of, from local sports teams to public speaking
Updating your interests is an easy way to tell people a little more about yourself and your business in a way they can relate to.
Publish a post on LinkedIn/Facebook Notes

It wasn’t too long ago that LinkedIn made its publishing platform open to all users, a move that turned the social network into a quasi-blogging platform. With the success of LinkedIn’s publisher, and of Medium, it comes as little surprise that Facebook recently revamped its Notes feature to potentially compete in this front.
What many users fail to realize is that, in order to promote these tools, LinkedIn and Facebook allow you to incorporate them into your profiles. When you publish a post on LinkedIn, it will appear on your profile in the “Posts” section. This important real estate is a major incentive to start writing posts for your LinkedIn audience. The same can be said of Facebook, which allows you to include Notes as a profile section, and notify your followers when you publish a new one.
Utilizing these tools is an easy way to extend your reach and impress profile visitors. Think of it like your own mini thought leadership program. And, while it takes more than 30 minutes to create a new piece of content, you can easily use these tools to promote or tease existing content on your blog or website. Copy the first paragraph or two into a note or LinkedIn post, then tell people to visit your site for the rest. In just a few minutes, you will have added content to your profile and turned it into a source of traffic for your web properties. Not too shabby.

No comments:
Post a Comment